... 분명히 썼는데 어디갔지
[LECTURE] 보건의료정보원 FHIR 강좌 15차시 : SMART on FHIR 이론 : edwith
- 한국보건의료정보원
www.edwith.org
- SMART on FHIR
FHIR APPLICATION. 앱스토어 기반의 어플리케이션이다. 바로 다운받아서 사용할 수 있도록... 이식성 굿 - 샌드박스
여러 공개 범위의 샌드박스가 존재한다. EPIC, CERNER 등등 - LAUNCH POINT : EMR 시스템을 가상환경처럼 구성해둔 시뮬레이터.
FHIR - EMR 기반으로 돌아간다고 가정함. - CDS HOOKS
CDS - 사람의 의사결정을 도와주는 것. ex) 약물 중복 처방
일상생활에서 EMR을 쓰다가 인터럽션이 생긴다.
의사 결정 지원을 호출하기 위한 Hook-pattern 기반의 서비스
(Hook - pattern : 인터럽트 해야 할 일을 해야 하는 것.) ..? 사용자가 어떤 행동을 하면 오는 것.
CDS card - 답을 주는 형태. 1) 단순한 형태의 답 2) 추천/권고안 3) 앱을 제공 (추천)
동작 방식 - 1) SMART on FHIR 아키텍처 위에서 굴러간다. 2) FHIR 정보가 바로 들어가기도 한다.
일단~
[LECTURE] 보건의료정보원 FHIR 강좌 16차시 : SMART on FHIR 실습 : edwith
- 한국보건의료정보원
www.edwith.org
실습 ( •̀ ω •́ )✧
0. 서버 준비
1) git hub에서 코드 다운 - https://github.com/cerner/smart-on-fhir-tutorial
GitHub - cerner/smart-on-fhir-tutorial: SMART on FHIR developer tutorial
SMART on FHIR developer tutorial. Contribute to cerner/smart-on-fhir-tutorial development by creating an account on GitHub.
github.com
2) Chrome Web Server 추가. - https://chrome.google.com/webstore/detail/web-server-for-chrome/ofhbbkphhbklhfoeikjpcbhemlocgigb/related
Web Server for Chrome
A Web Server for Chrome, serves web pages from a local folder over the network, using HTTP. Runs offline.
chrome.google.com
3) 웹서버 설정값 변경

choose folder 선택 후 아까 다운받았던 폴더 선택. -> example-smart-app 선택
Enter Port 8080으로 변경.
4) http://localhost:8080/health.html 으로 들어가서 잘 되는지 확인.
인데 왜 안 떠요. 아 !!!!!!!!!!!!!!!!!!!!!!!!!!!!!!!!!!!!!!!!!!!!!!!! 3번에서 잘못했네요 머쓱 잘 합시다.
1. SMART HEALTH IT
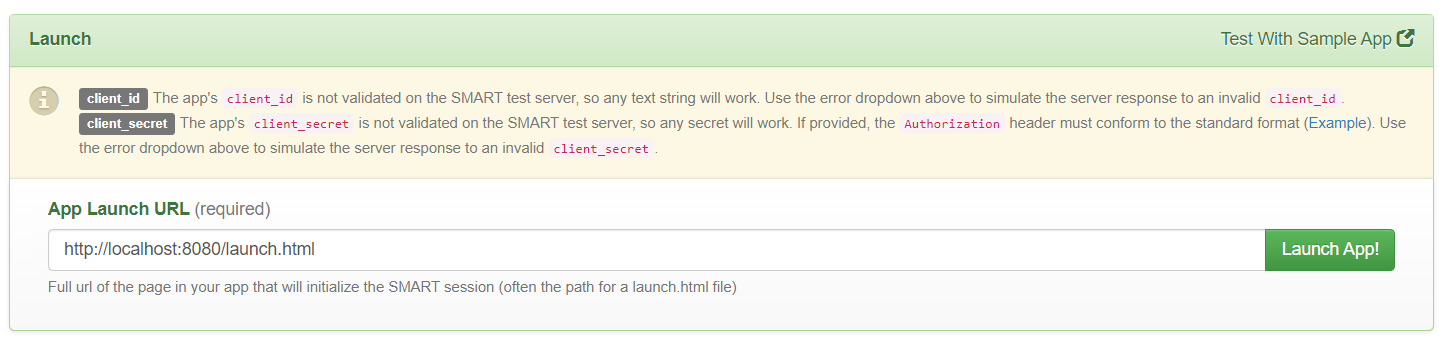
1) 런처 세팅 - https://launch.smarthealthit.org/?auth_error=&fhir_version_2=r4&iss=&launch_ehr=1&launch_url=&patient=&prov_skip_auth=1&provider=&pt_skip_auth=1&p : Smart on Fhir가 만든 퍼블릭 Smart on Fhir 플랫폼
SMART App Launcher
App Launch Options
launch.smarthealthit.org
2) 환자와 의사 선택

표시된 버튼을 누르면 환자와 의사를 선택할 수 있는데 아무나 골라본다.
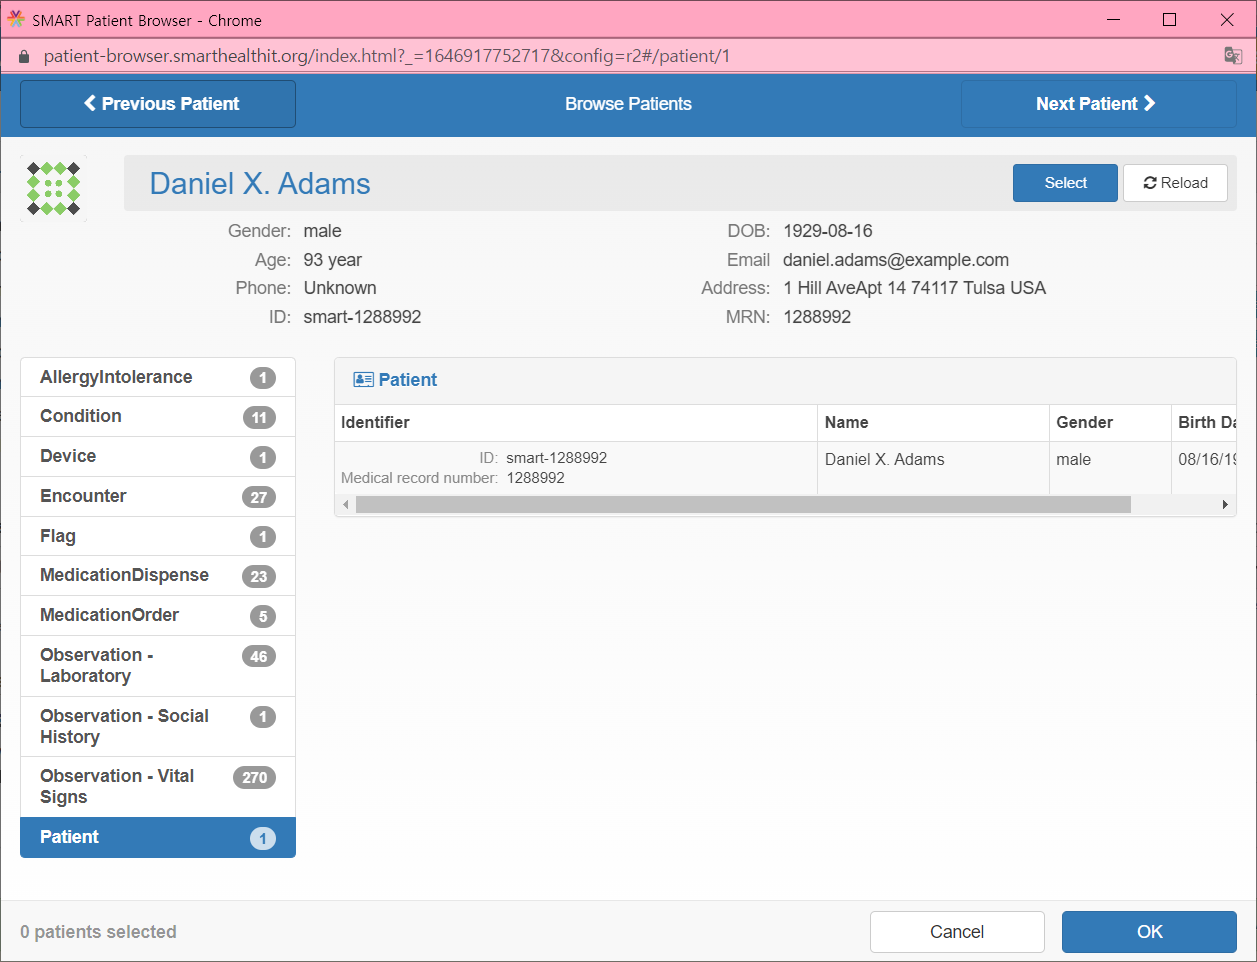
무려 93세의 X가 들어가는 멋있는 환자분이 눈에 들어와서 픽했음. 이름에 X 개간지 ~,, 할아부지 건강하세요.
3) Launch 밑으로 내려 http://localhost:8080/launch.html 입력.
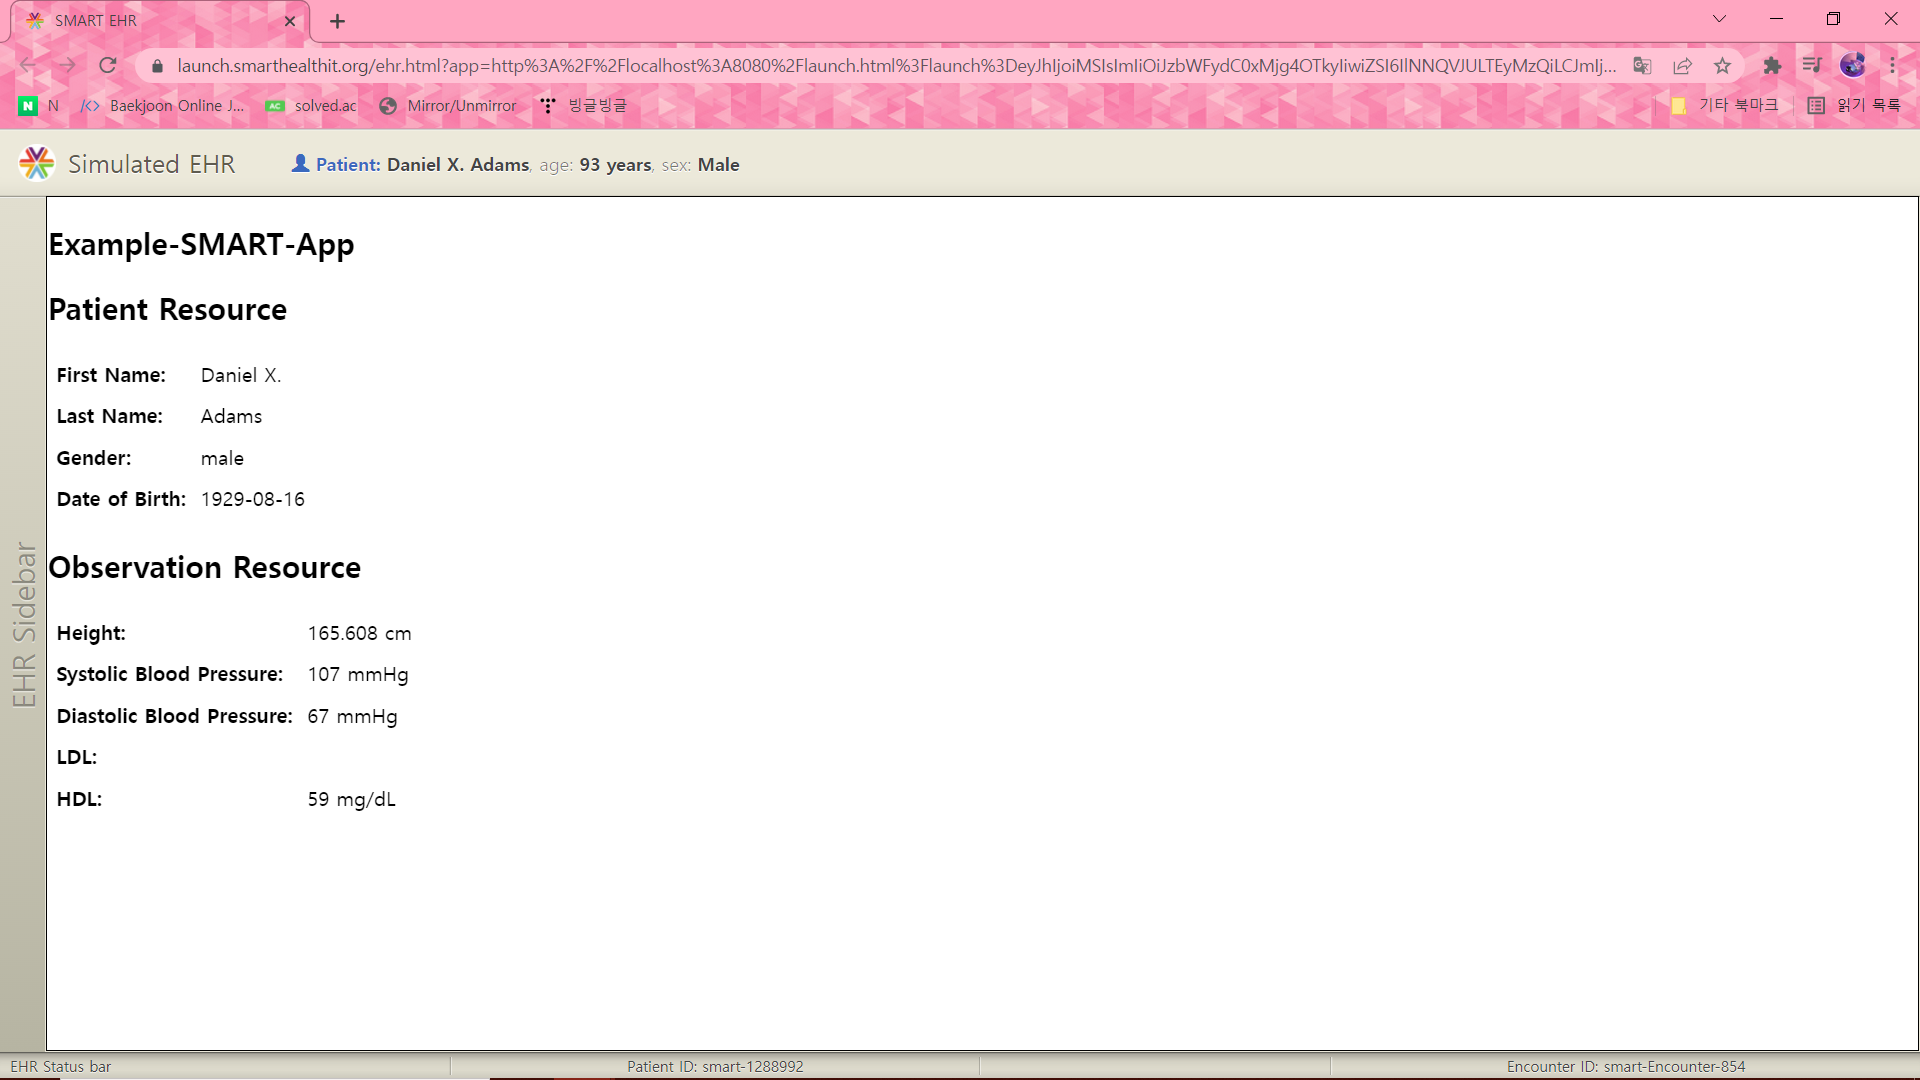
앱 기동된 모습 ~
4) 코드 추가.
/src/js/example-smart-app.js로 들어와서 var patient 와 var pt 사이 열심히 친다.
var enc = smart.patient.api.fetchAll({
        	type: 'Encounter'
        	});

        $.when(enc).fail(onError);
        $.when(enc).done(function(data){
        	alert(data.length);
        });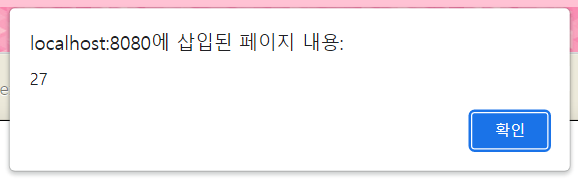
실행하면 숫자가 하나 나온다. 자신이 선택한 환자의 Encounter 횟수이다.
이젠 알림창이 아니라 제대로 화면에 보이게 해보자.
아까 친 부분을 이렇게 바꾸어준다.
var enc = smart.patient.api.fetchAll({
        	type: 'Encounter'
        	});

        $.when(enc).fail(onError);
        $.when(enc).done(function(data){
        	$('#enc').html(JSON.stringify(data));
        });
/index.html 에도 HDL table 다음에 추가해준다.
<h2>Ecountier Resource</h2>
      <table>
      <tr>
      <th>JSON:</th>
      <td id='enc'></td>
      </tr>
      </table>
다시 창을 닫고 런치했을 때 아래와 같이 뭔가 우두둑 나오면 성공.
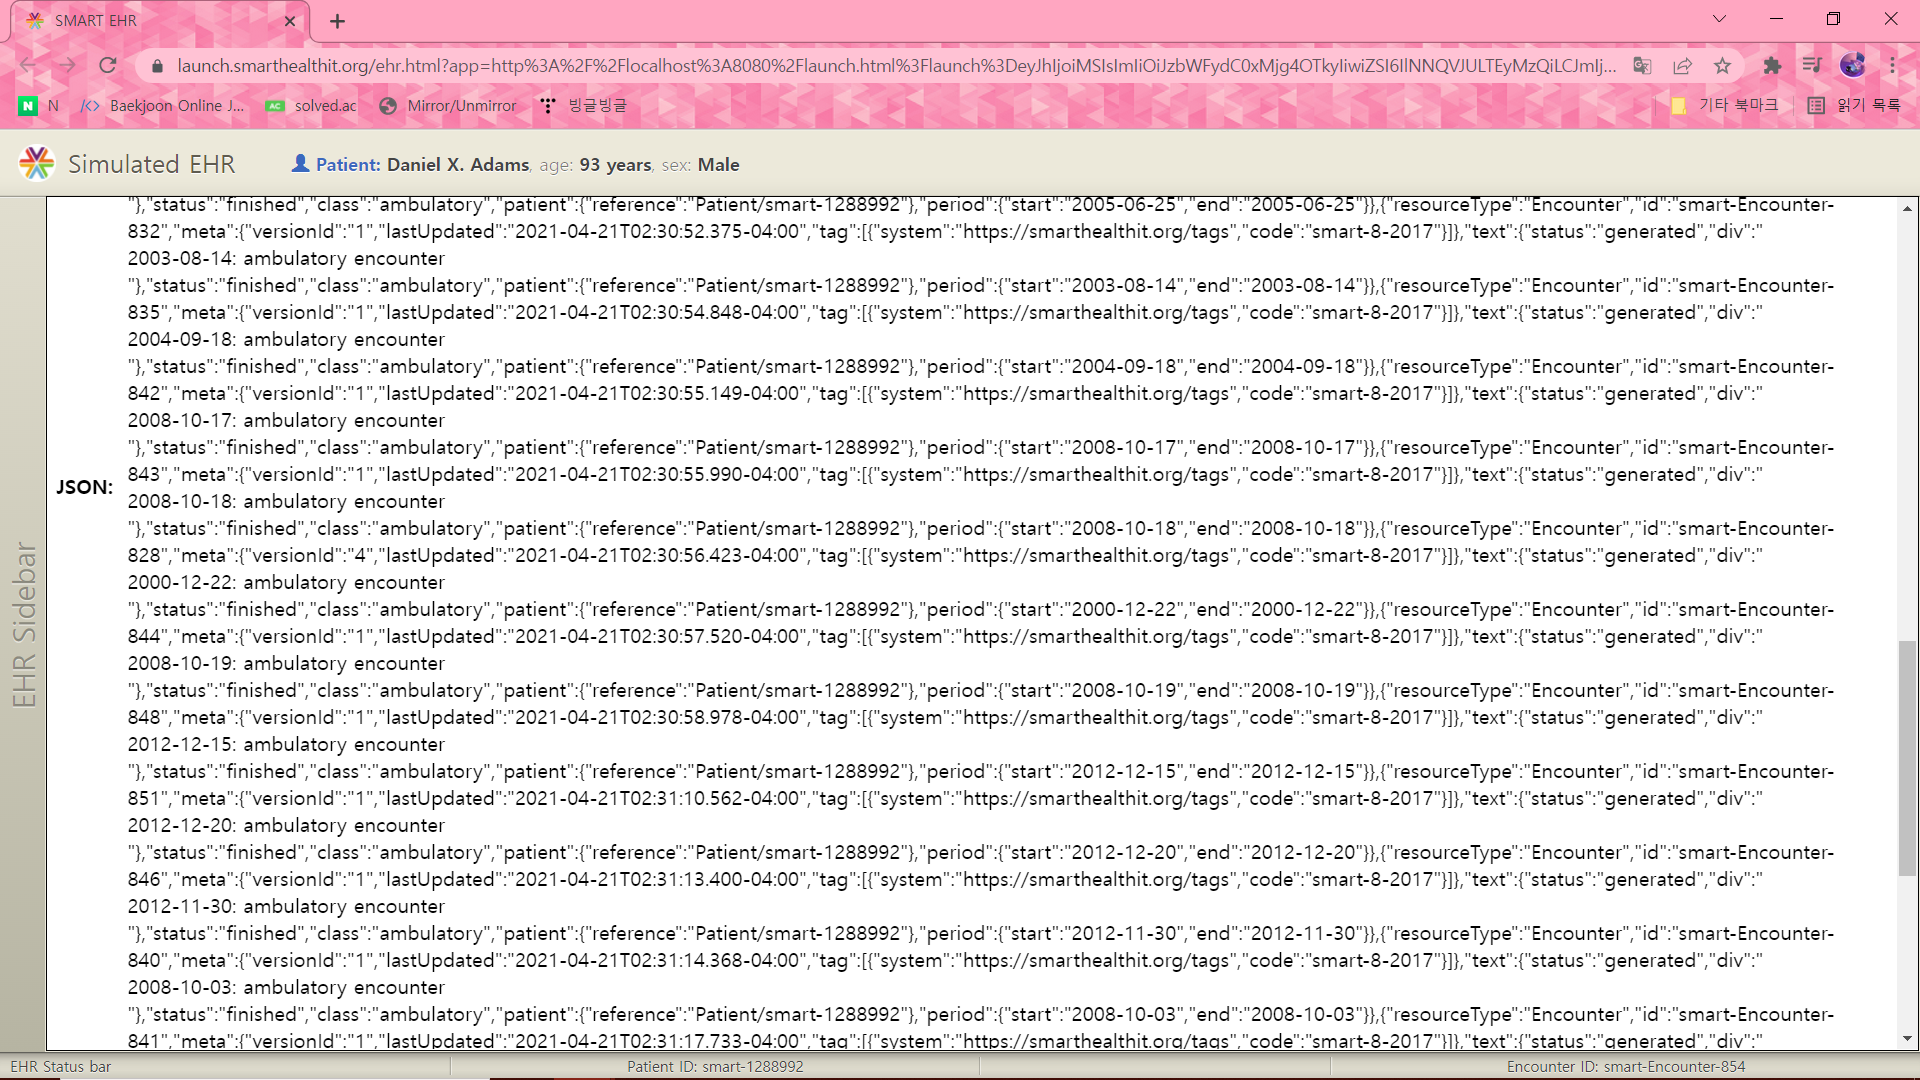
FHIR 정보를 읽어왔다. 더럽다.
$.when(enc).fail(onError);
        $.when(enc).done(function(data){
        	data.forEach(function(result){
        	$('#enc').append('id: '+JSON.stringify(result.id)+'<br>');
        	$('#enc').append('Patient:'+JSON.stringify(result.patient.reference)+'<br>');
        	$('#enc').append('Provider:'+JSON.stringify(result.serviceProvider.reference)+'<br>');
        	$('#enc').append('Class: '+JSON.stringify(result.class)+'<br>');
        	$('#enc').append('<br>');
        	});
        });
        });
바꿔주자.
로 무언가 떠야했지만 나한테 있는 환자에게는 Provider 정보가 없는 것 같고 class도 위에 있어서 그런지 하나도 뜨지 않았다..ㅠㅠㅠ 왜 나만
 $.when(enc).fail(onError);
        $.when(enc).done(function(data){
        	data.forEach(function(result){
        	$('#enc').append('Class: '+JSON.stringify(result.class)+'<br>');
        	$('#enc').append('id: '+JSON.stringify(result.id)+'<br>');
        	$('#enc').append('Patient:'+JSON.stringify(result.patient.reference)+'<br>');
        	//$('#enc').append('Provider:'+JSON.stringify(result.serviceProvider.reference)+'<br>');
        	$('#enc').append('<br>');
        	});
        });
하지만 이렇게 바꾸어주었더니
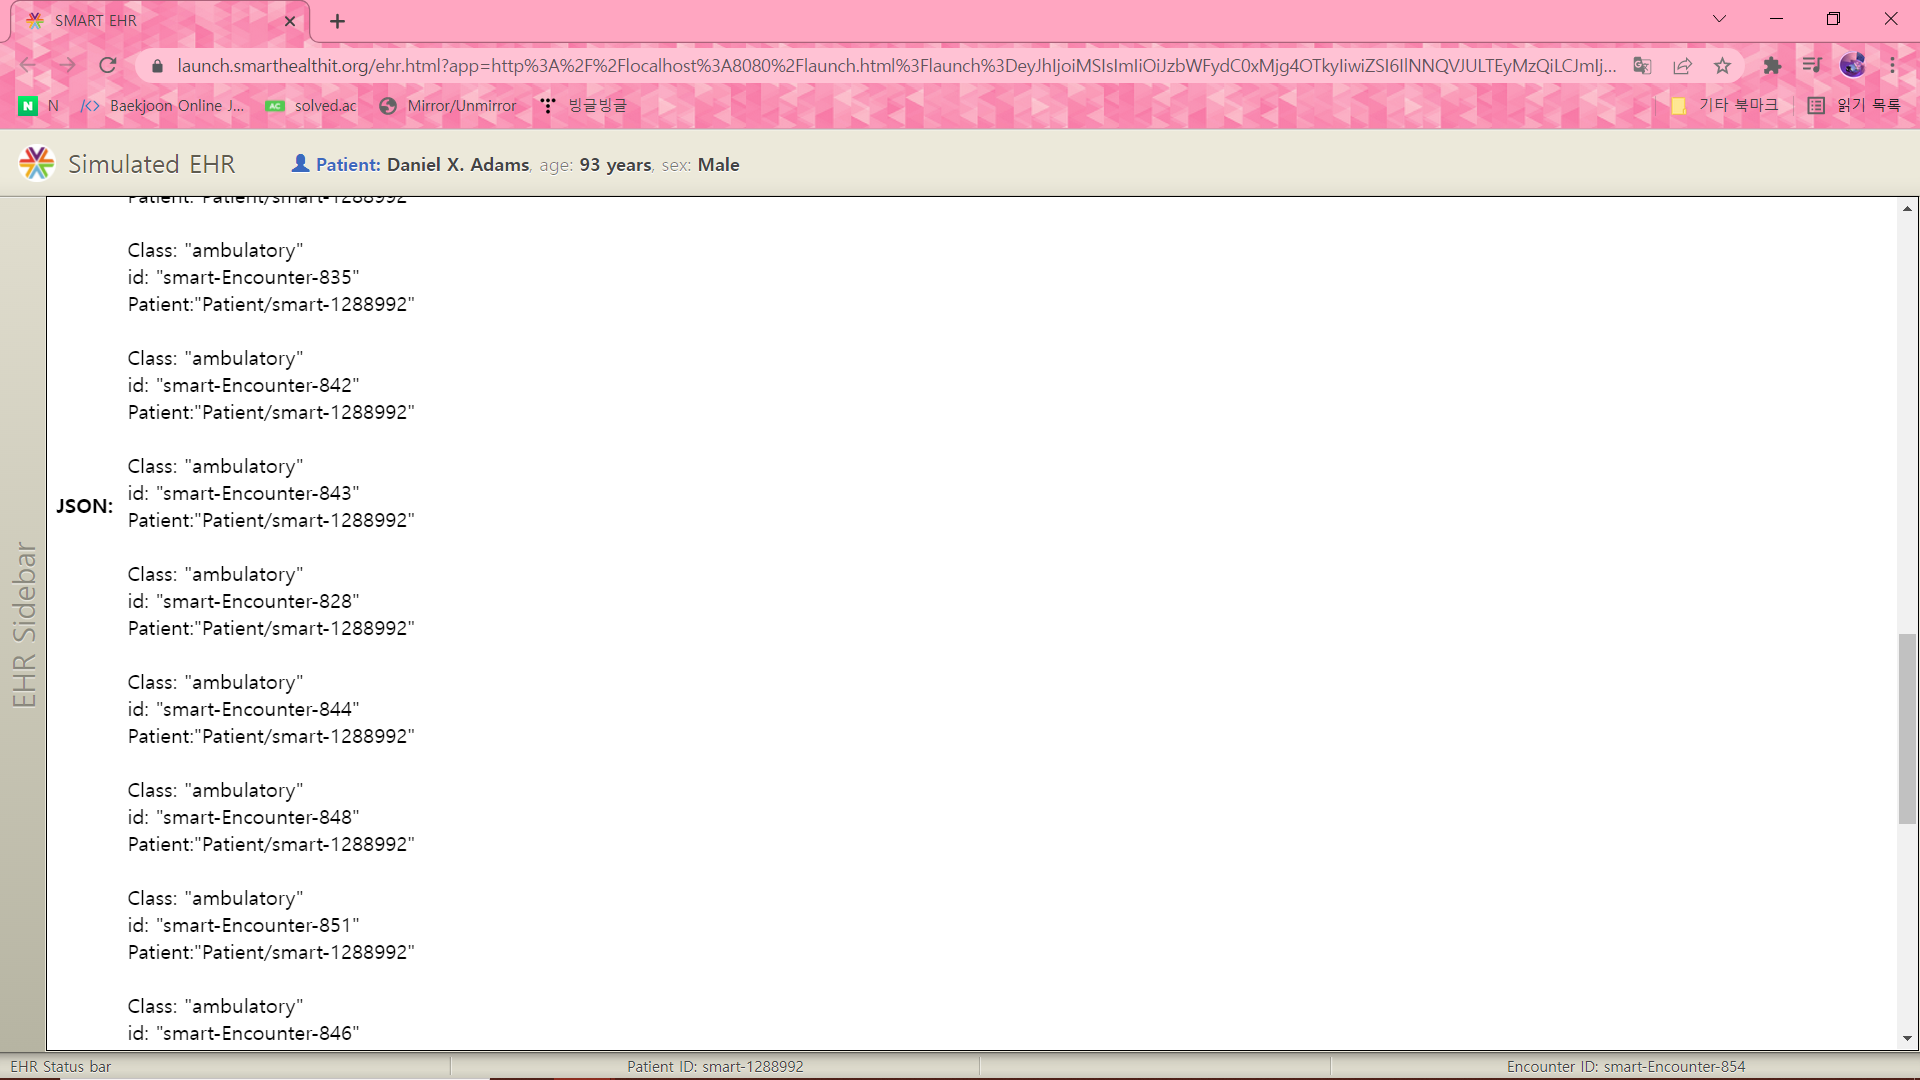
깔끔하게 등장했다 ~ 기뻐랑 순서랑 있는거 없는거 잘 따져서 적어야할듯하다.
index.html에 아까 추가했던 코드 밑에 하나를 더 추가해본다.
<h2>Condition Resource</h2>
      <table>
      <tr>
      <th>JSON:</th>
      <td id='cond'></td>
      </tr>
      </table>
이제 계속 고치고 있던 그 파일로 들어가 추가해준다.
var cond = smart.patient.api.fetchAllp({
        	type: 'Condition'
        	});
        $.when(cond).fail(onError);
        $.when(cond).done(function(data){
        	$('#cond').append(JSON.stringify(data));
        	});
... 왜 안 뜨죠ㅠㅠㅠㅠㅠㅠㅠㅠㅠㅠㅠㅠㅠ 오래걸린다. 대체 내가 무엇을 건들었는가
아니 잘 돌아가는데 왜...
var cond = smart.patient.api.fetchAll({
         	type: 'Condition',
 		});

 		$.when(cond).fail(onError);
         $.when(cond).done(function(data) {
 		    $('#cond').append(JSON.stringify(data));
 	    });
... 이기지 못하고 복붙했다. 어딘가 잘못쳤나보다.
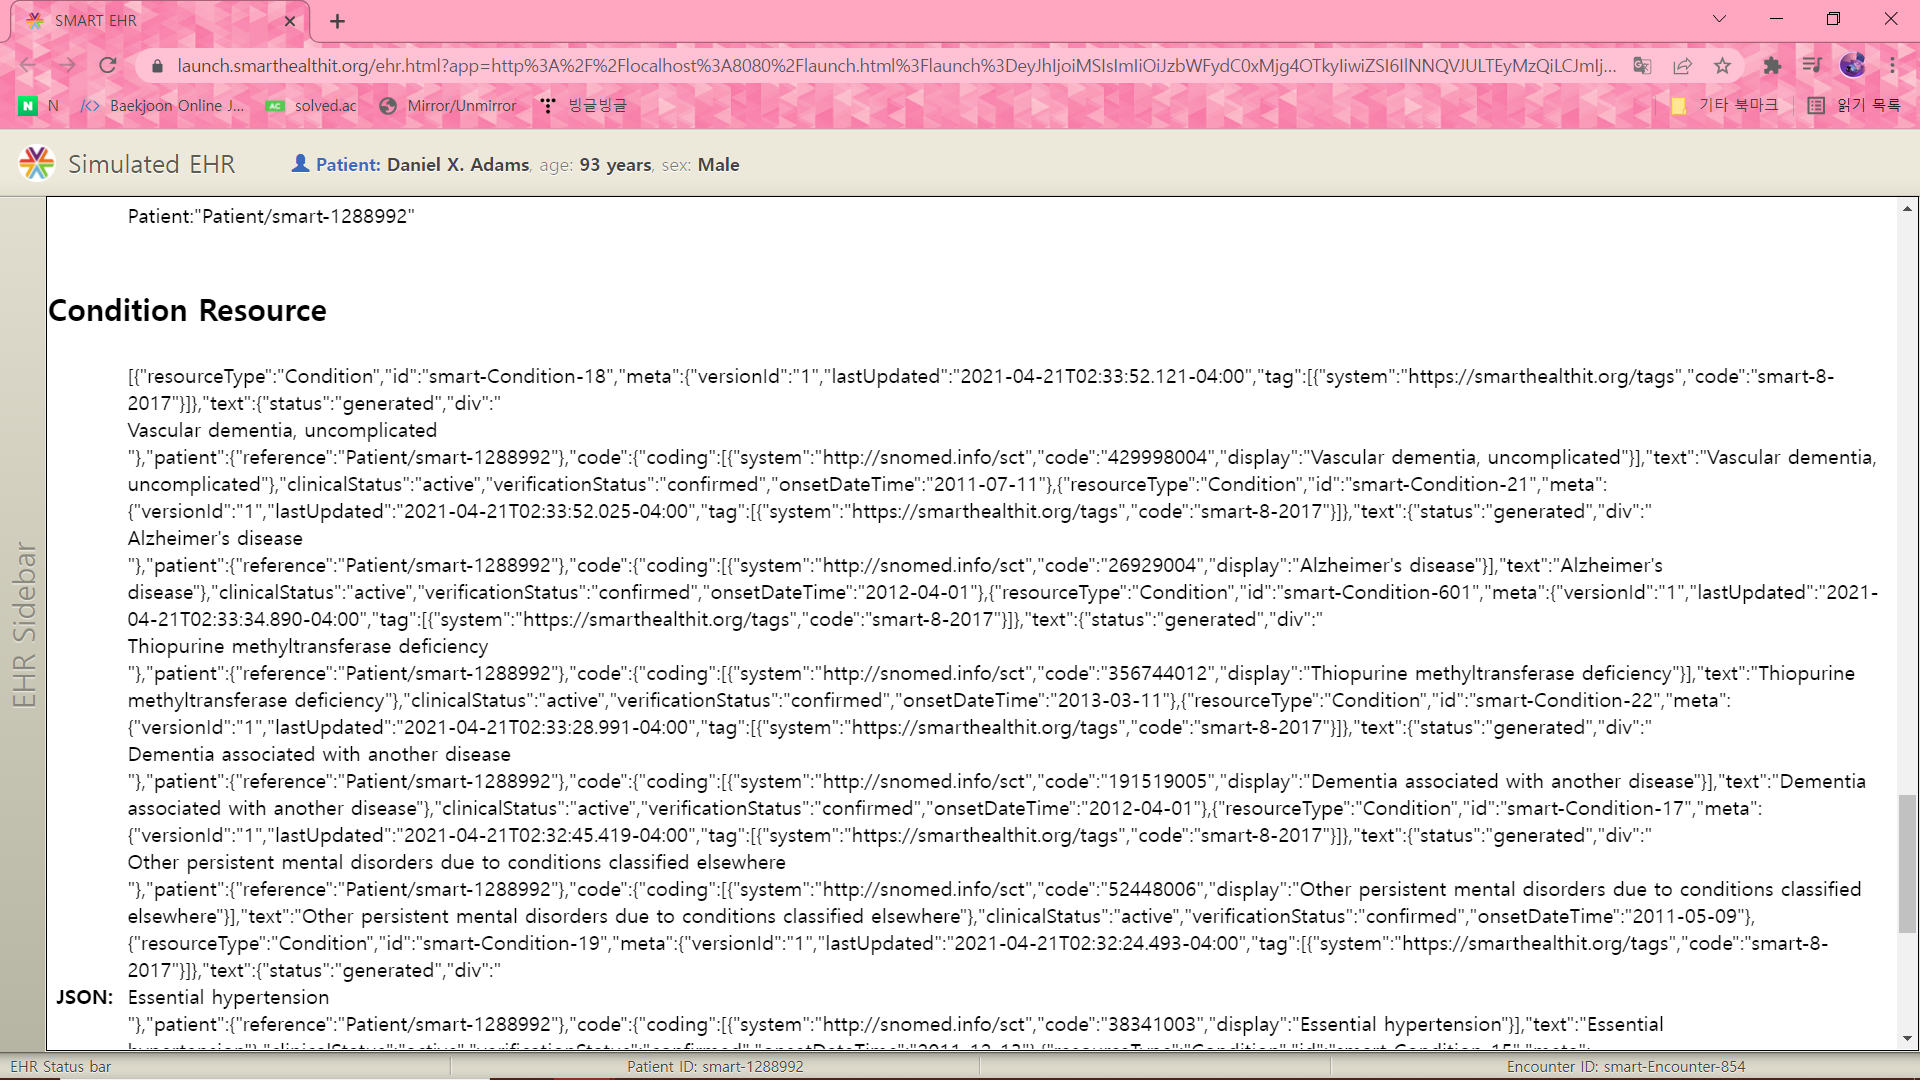
이렇게 나오면 성공.
정신이 없죠
 var cond = smart.patient.api.search({
         	type: 'Condition',
 		});

 		$.when(cond).fail(onError);
         $.when(cond).done(function(data) {
 		    $('#cond').html(JSON.stringify(data.data.entry.length));
 	    });
이렇게 바꿔봅니다. 아까는 fetchAll을 사용했지만 이번엔 search를 쓴다.
fetchAll의 경우 다 가져옴. search는 조건에 맞는 것만 선별하여 가져온다.
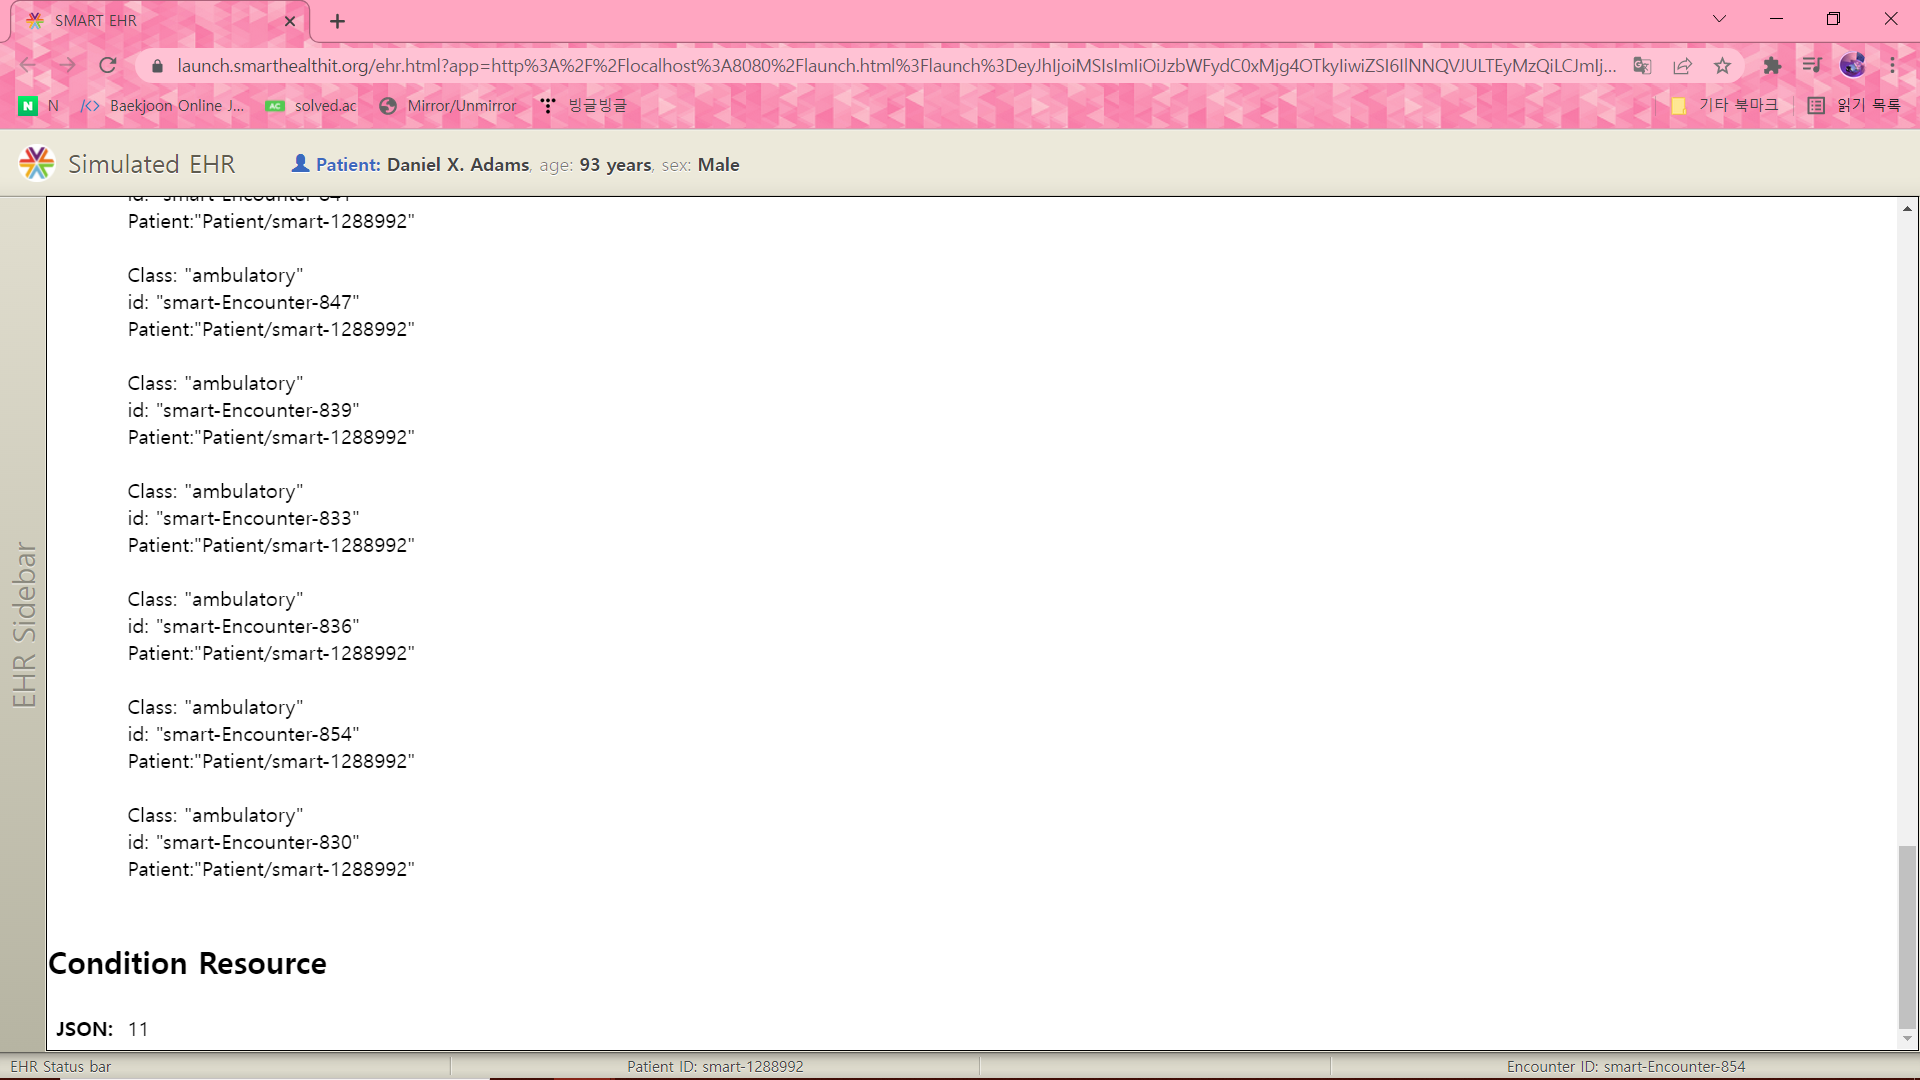
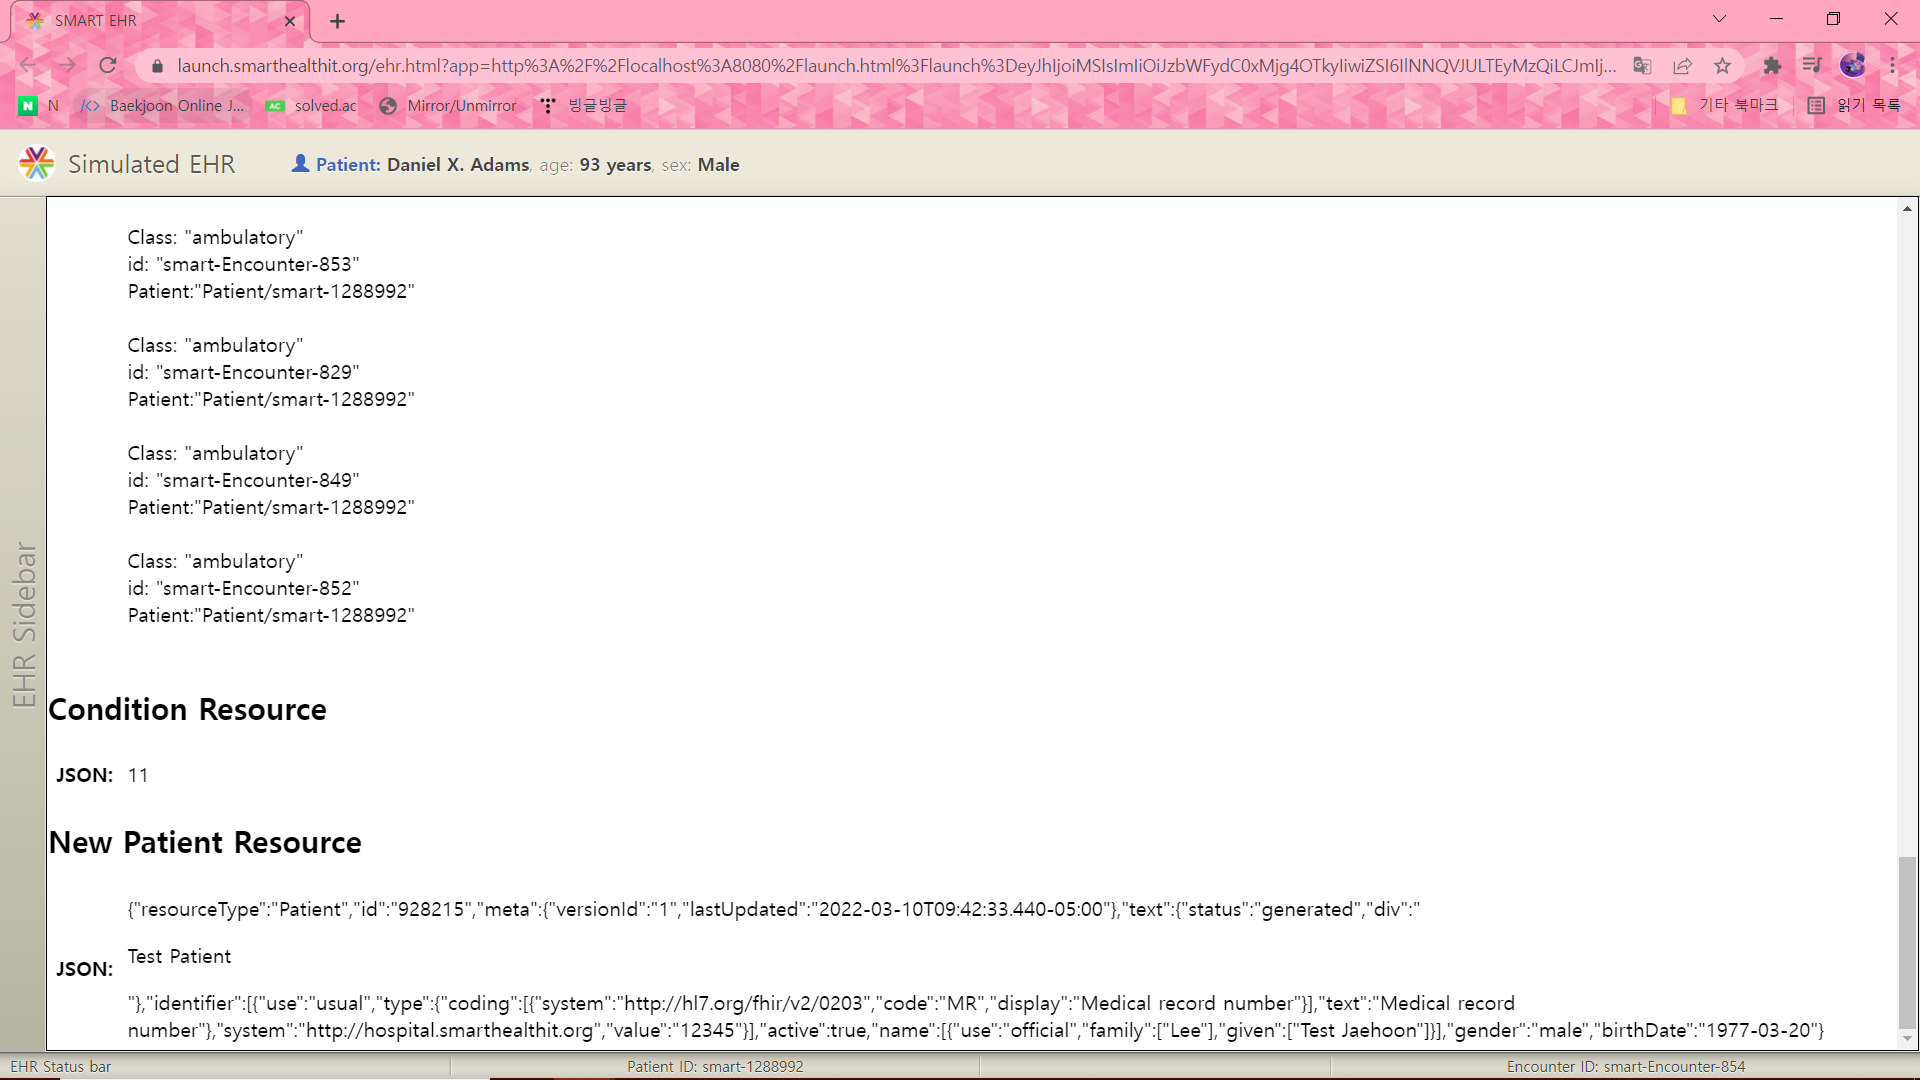
condition 수가 11개인가봅니다.
count : 2라는 코드를 한 줄 추가하면 딱 2개까지만 가져온다.
5) 환자 추가
이제 새로운 무언갈 추가해보자.
index.html에 추가
<h2>New Patient Resource</h2>
      <table>
      <tr>
      <th>JSON:</th>
      <td id='patient'></td>
      </tr>
      </table>
그 다음 js 파일도 고쳐주는데 어우 너무 기네요 더이상은 칠 수 없어요
var newpt = createNewPatient();
 	    smart.api.create({resource: newpt}).done(function(r) {

             var patient = r.data;
             patient["active"] = true;
             $('#patient').html(JSON.stringify(patient));
 		});
function createNewPatient () {
var pt = {
"resourceType": "Patient",
"text": {
"status": "generated",
"div": "<div><p>Test Patient</p></div>"
},
"identifier": [
{
"use": "usual",
"type": {
"coding": [
{
"system": "http://hl7.org/fhir/v2/0203",
"code": "MR",
"display": "Medical record number"
}
],
"text": "Medical record number"
},
"system": "http://hospital.smarthealthit.org",
"value": "12345"
}
],
"active": false,
"name": [
{
"use": "official",
"family": [
"Lee"
],
"given": [
"Test Jaehoon"
]
}
],
"gender": "male",
"birthDate": "1977-03-20"
};
return pt;
}상대적으로 빡빡한 편이기 때문에 많은 정보가 들어갔다.
밑에 생겼다!!야호!!
2. BILIRUBIN CHART
1) logica로 갑니다. -> 자신의 샌드박스 안으로 들어가 오른쪽 상단의 (+)버튼 클릭. -> Manually 클릭
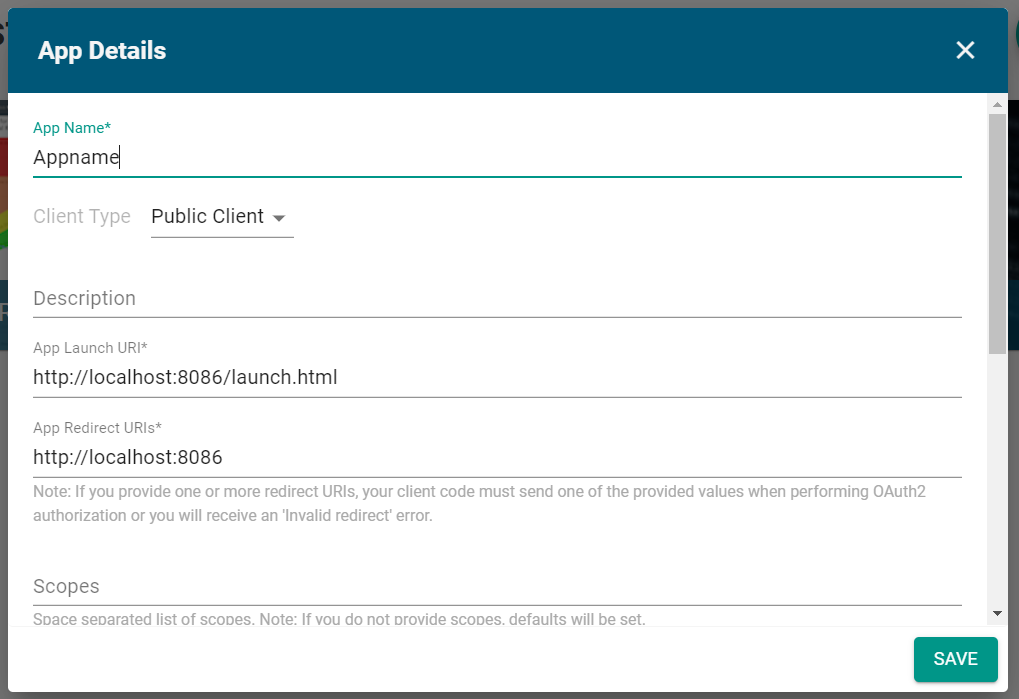
2) App Launch URL을 적어준다. 포트번호가 겹치면 안 되므로 8086으로 바꾸어 적는다.
3) BILIRUBIN 차트를 다운받기 위해 https://bitbucket.org/HSPCONSORTIUM/ 으로 이동... 이 아니라 다른 사이트인데 접근이 안 된다...!!!!!
https://bitbucket.org/hspconsortium/bilirubin-risk-chart/src/develop/ 된다 ~
왼쪽 옆의 다운로드 버튼을 눌러 다운받자. 압축도 풀고요
4) 웹서버 설정 변경
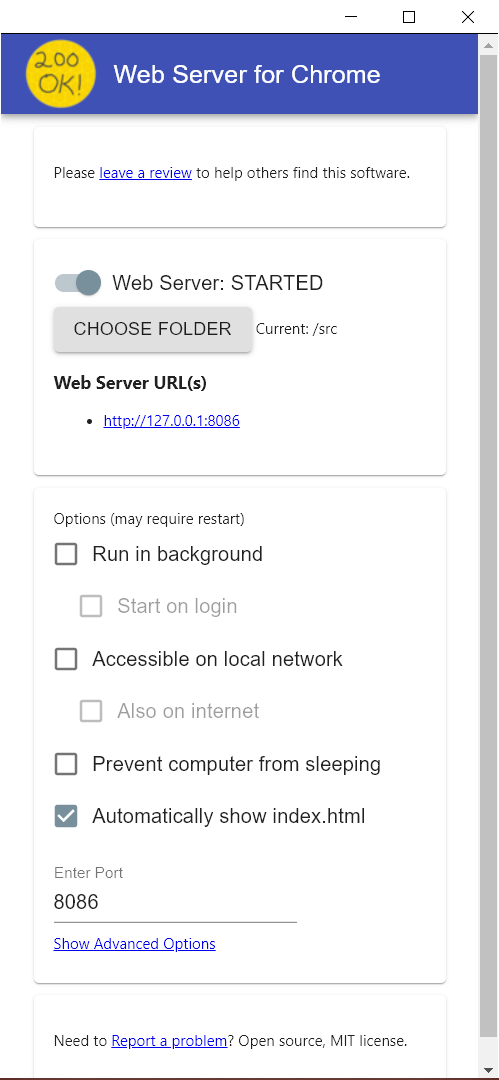
한 번 껐다 킨 후, 포트 번호를 8086으로 바꾸고, 폴더도 src로 바꾸어준다.
5) LAUNCH
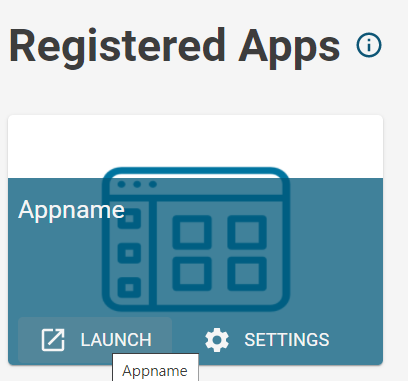
아까 logica에 만들어두었던 것으로 돌아가보자.
LAUNCH 버튼 클릭. 의사와 환자를 골라 넘어간다.
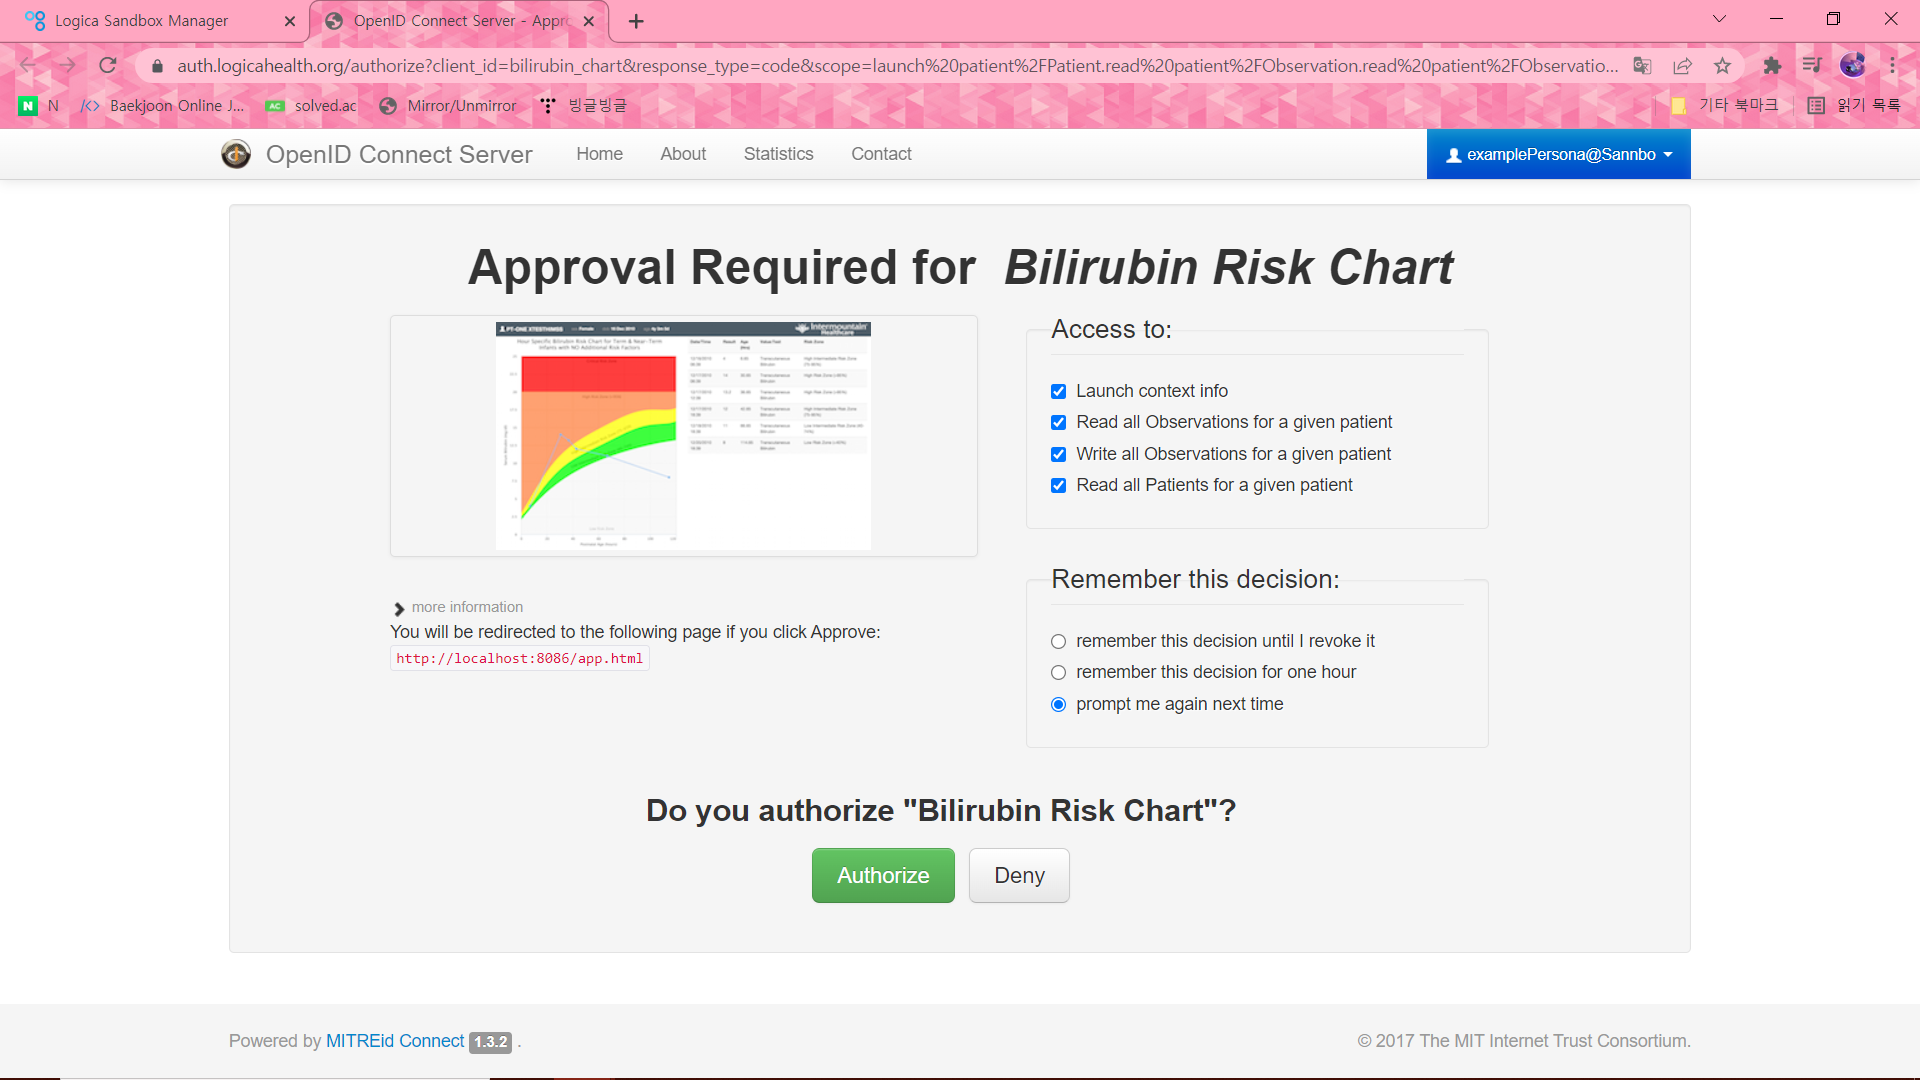
왼쪽 버튼 누르고 지나간다. 보안 상의 이유로 물어본다고 함.
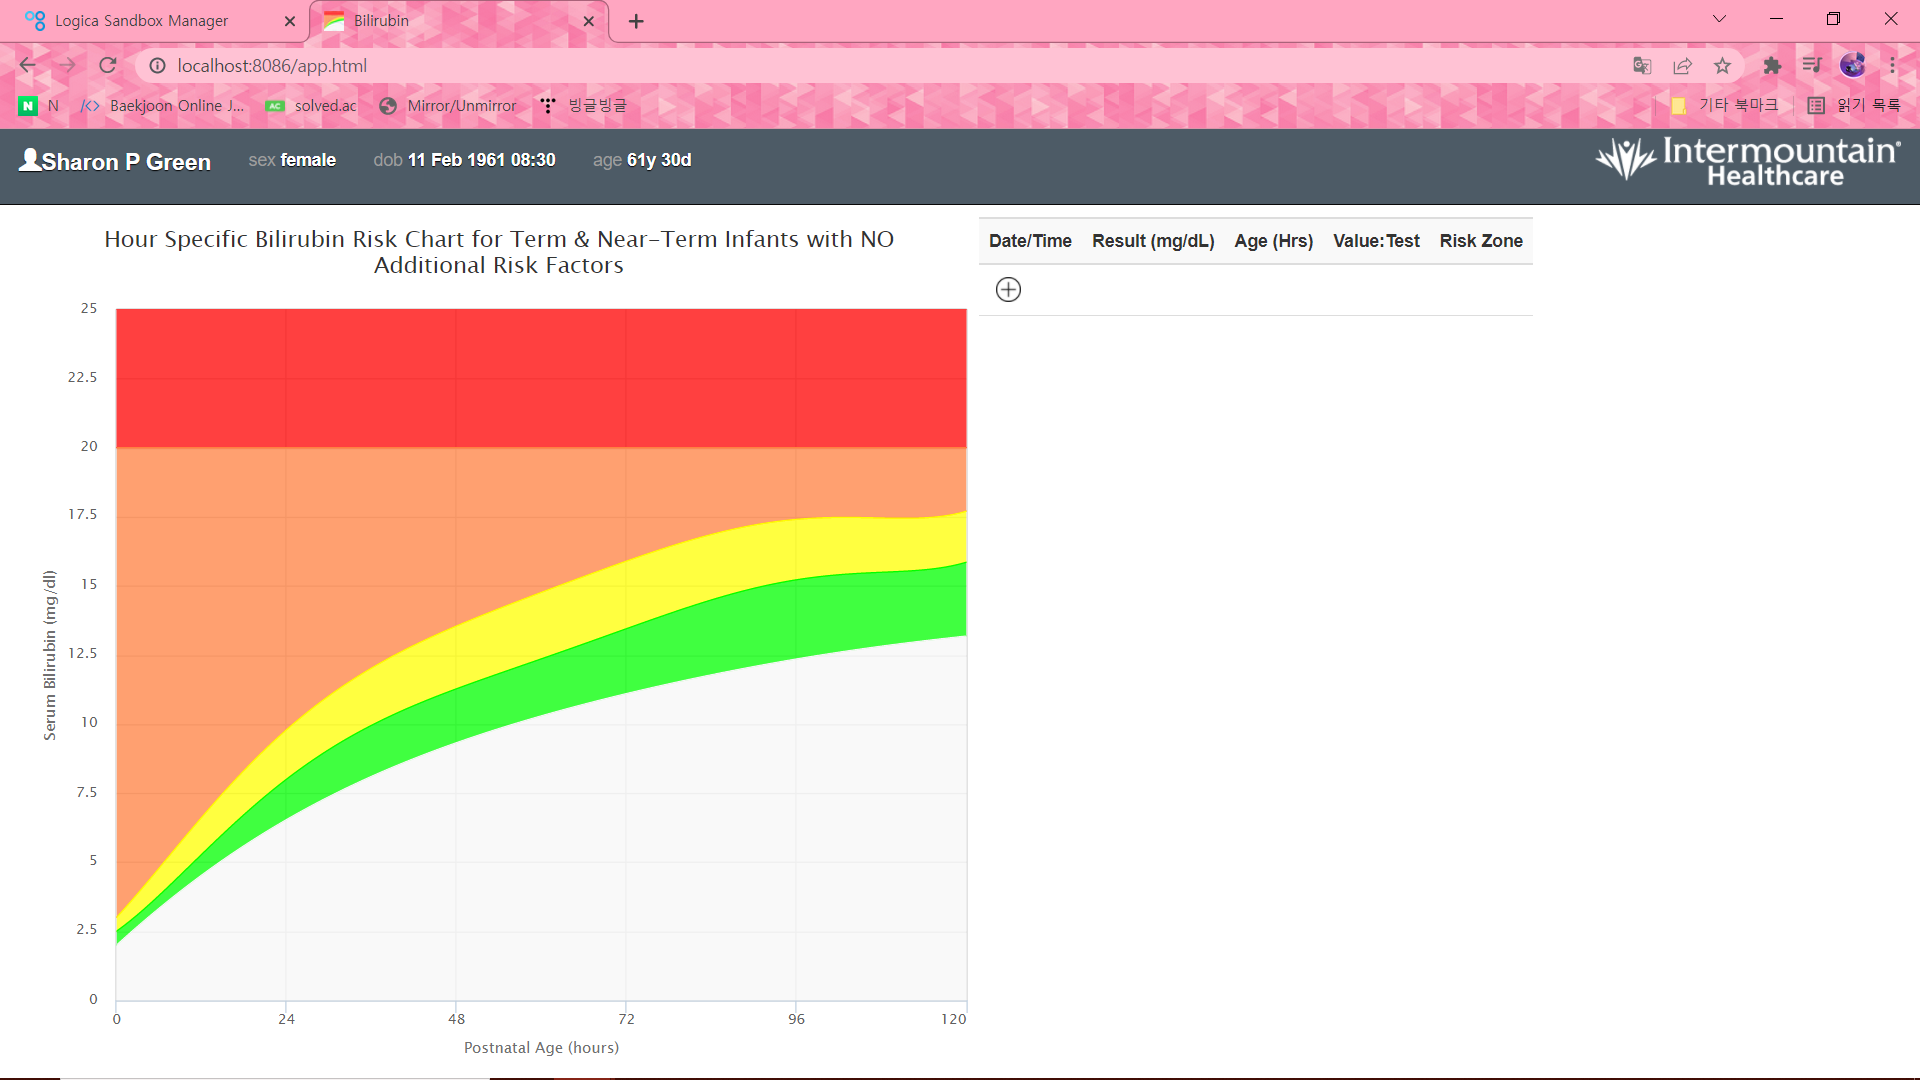
짜자잔. 엥 왜 기록이 없을까요? 그 이유는 환자의 나이에 있다. 61세!!!!!!!!!!!
이건 신생아 기록인데!!!!!!!!!!!!!!!!!!!!!!!!!! 있겠냐 어린 아이를 고르도록 하자...
6) 새로운 값 추가

옆 + 버튼을 누르면 새로운 기록이 추가되는 것을 알 수 있다.
1961년 생이시라... 예시에 나온것처럼 2016을 하면 뱉어낸다. 당연... 잘 계산해서 넣어보자.
드디어 끝... 그럼 안녕💨💨
'FHIR' 카테고리의 다른 글
| FHIR 서버 구축 (0) | 2022.03.21 |
|---|---|
| FHIR - 서버 구하기 대작전 (0) | 2022.03.11 |
| FHIR - 프로파일 (0) | 2022.02.25 |
| FHIR - MAVEN (0) | 2022.02.23 |
| FHIR - 서버 구축 ? (0) | 2022.02.23 |